A northern Michigan kayak & kayak builder story.

Wednesday, May 24, 2006

And the work goes on


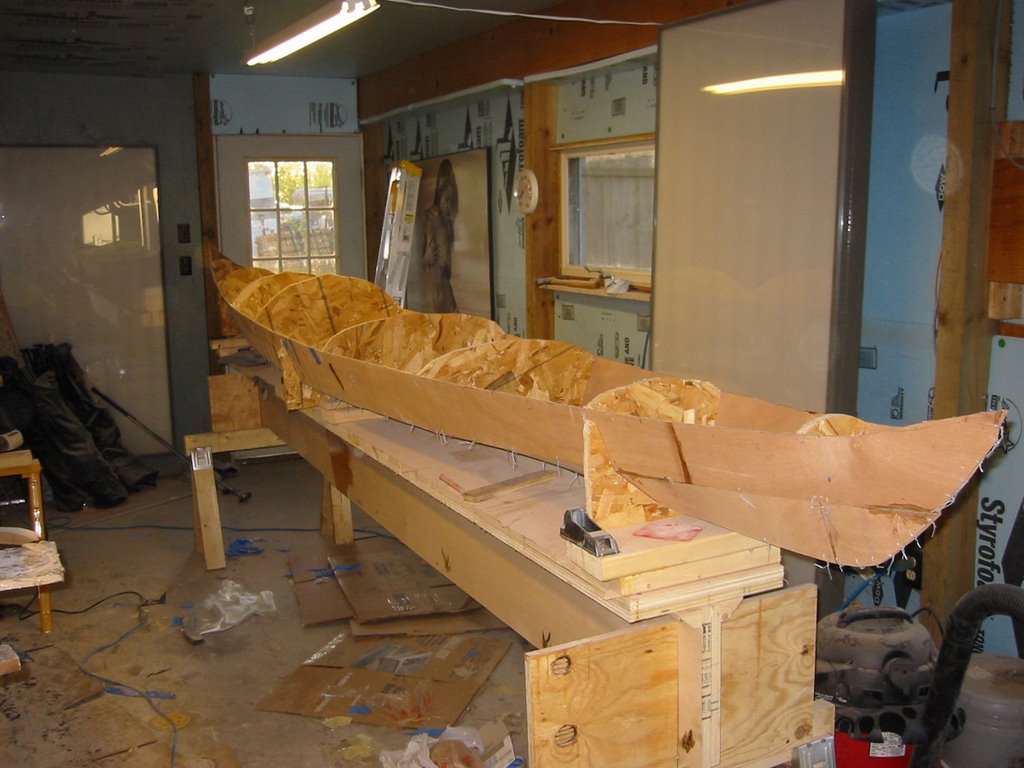
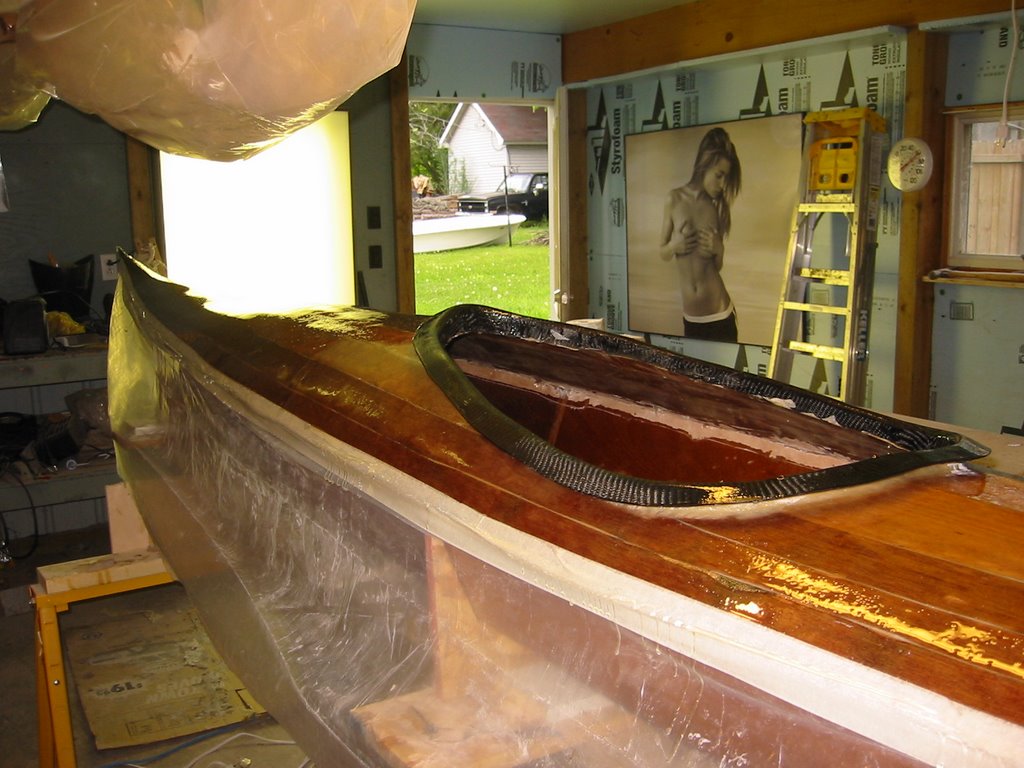
I have the hull and the deck reattached to allow for the hatch cut out. I am going to attempt the difficult flush mount hatch design. This, I suspect will not be an easy task.

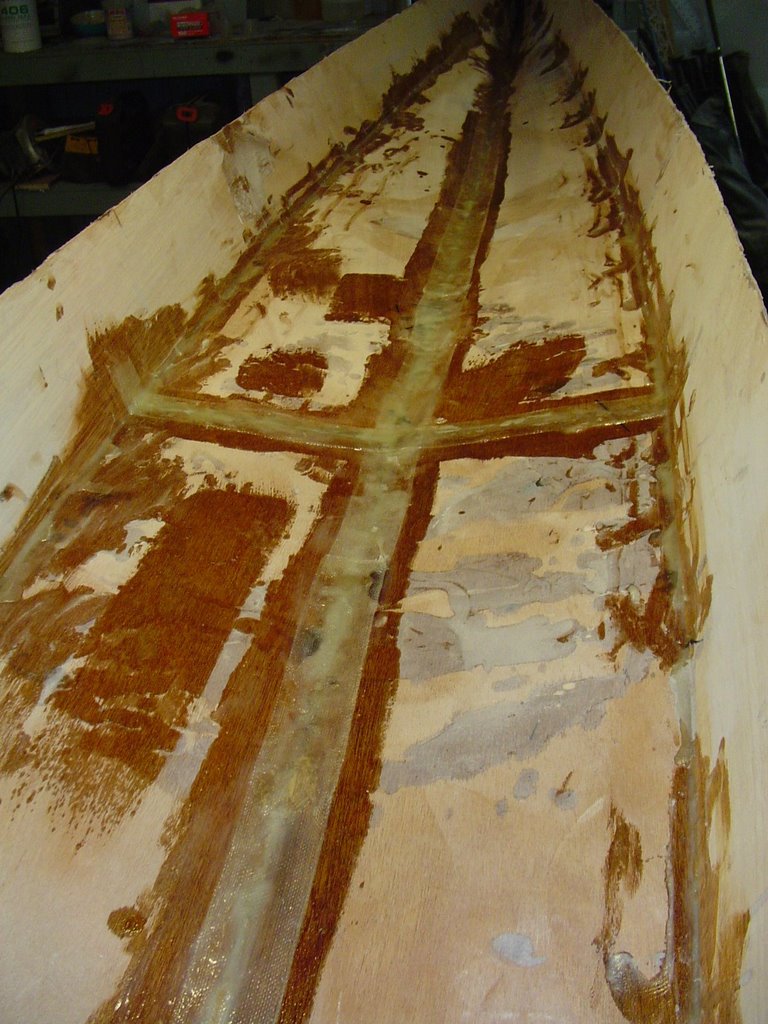
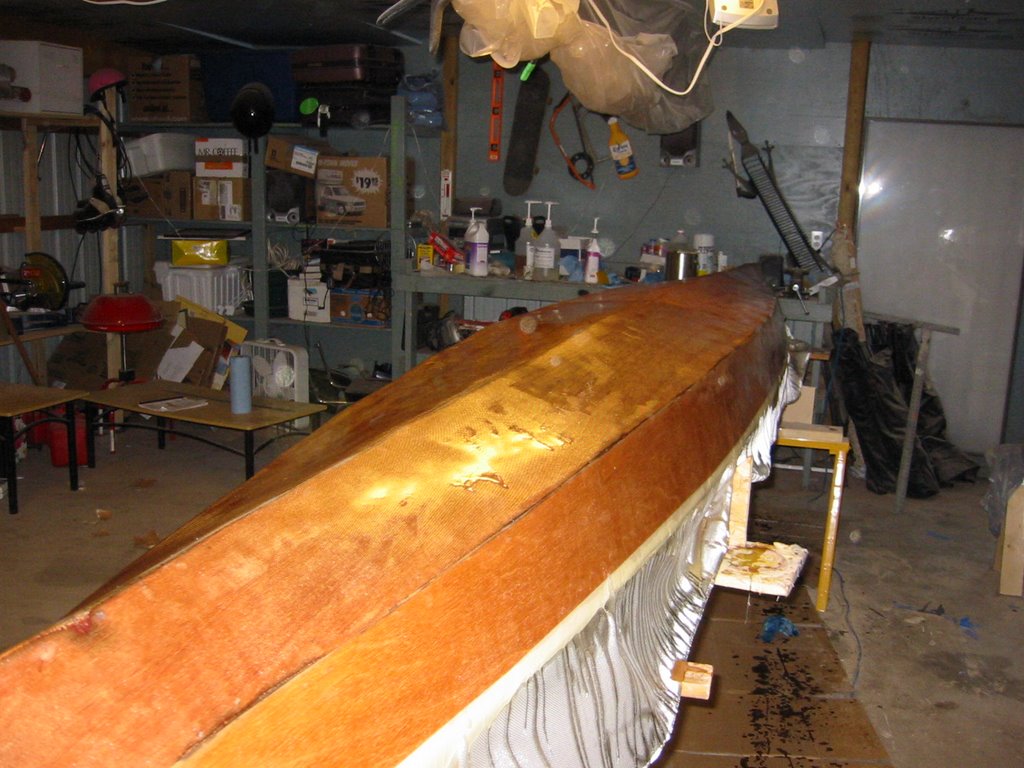
In these pics you can see that I have applied what I hope to be the final coat of epoxy to the deck. As soon as this dries the hatches will be cut. This according to most is a hair-raising task, as an error here will cost the flush mount hatch for a none matching top mount gasket hatch.


Stay tuned as the suspense builds on the next episode of amateurs building boats.

Saturday, May 20, 2006

Sorry But No Pictures

I have been working on, but nothing to exciting is happening. I have the inside of both the top and bottom fiberglassed. I even reinf0rced the back deck and front deck with some S-glass. This was If I need to do a rescue the boat will be plenty strong enough, and I can crawl on the back deck with no worries.

If I had pictures you would see the two halves hot glued back together. I have to put one more coat of epoxy on the deck and then I can begin the hacth construction. I met a guy at Backcountry Outfitters in TC who suggested using two bulkheads behind the cockpit, his way you can have an assesable hatch while paddling. I think I will incorporate this into Vaclav's design.

Other than that the weather has not been playing to my favor the past several days and epoxy work has been pretty much out of the question. Hopefully, it will hit about 70 in the next few days and I can get the last coat of epoxy on the deck. Stay Tuned.

Monday, May 15, 2006

Keep Marching Soldier!


So on and on it goes. I have managed to split one of the kayaks. The next step was to finish the inside fillets. Vaclev says that these are very important to the structure. I decided to put the secon kayak down until I get this one closer to finished. It should help the progress.

I hope to glass the inside this week and move on from there. The glass does not have to be sanded, just positively filled. This phase should fly, then it's hatches, attaching the footbraces, meanding the sheerline, adding bulkheads, seat, hardware and finishing the outside. The checklist is shrinking.

Thursday, May 11, 2006

On and On!!


Somedays I just want to build a big kayak bonfire! Then go buy a fiberglass boat!! I know if you read through my past posts I sound a bit
skitso, but wow somedays are better than others, and after 5 days of resin, sand, resin, sand, you bgin to wear thin.

So I added an brasion patch, against what some good friends say, I felt this makes the boat bulletproof. So a second layer of of 6oz was placed to build the hull. Check out the pics and stay tuned.

Also, I peeled the top of the other boat to free the coaming. All in the same time I decided to to fillet the inside. That was a sloppy mess, but made the top a lot more rigid.

Thursday, May 04, 2006

More Work!


But I love it! I finally got the bottom of the hull filleted and I am in the process of glassing it. This involves 6oz glass and a ton of resin. But all in all it looks great. I even added the stem bands for decoration.

However, Michigan weather sucks. Tonigt is supposed to drop to 39 F that sucks for the resin. After the second coat, I ran my propane heater for about an hour to boost the temp.


Also I had a bit of a problem with the glass bubbling, It's really kind of weird seing as though it was not there to begin with. But it's not a huge deal, as the sander will take them right down.

For my last trick, I also finished the coaming on the other boat. I do not suggest this coaming any more. It is very, very , very expensive, and it is just a coaming. But on the other hand it is very unique and strong.