Onward HO!
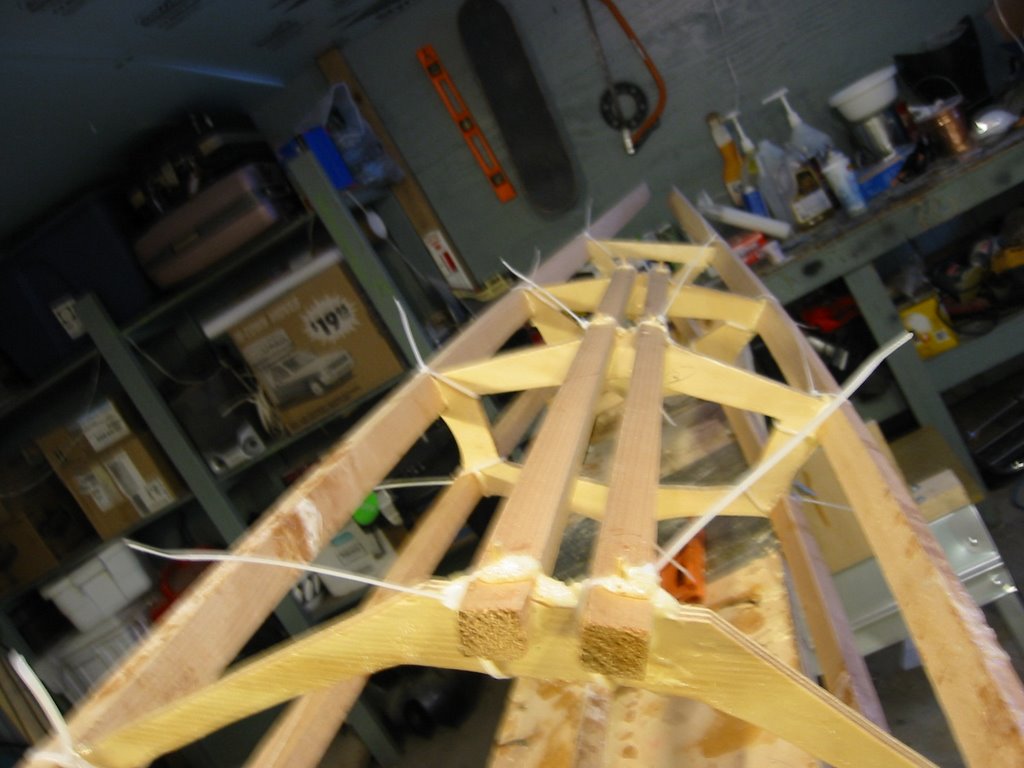
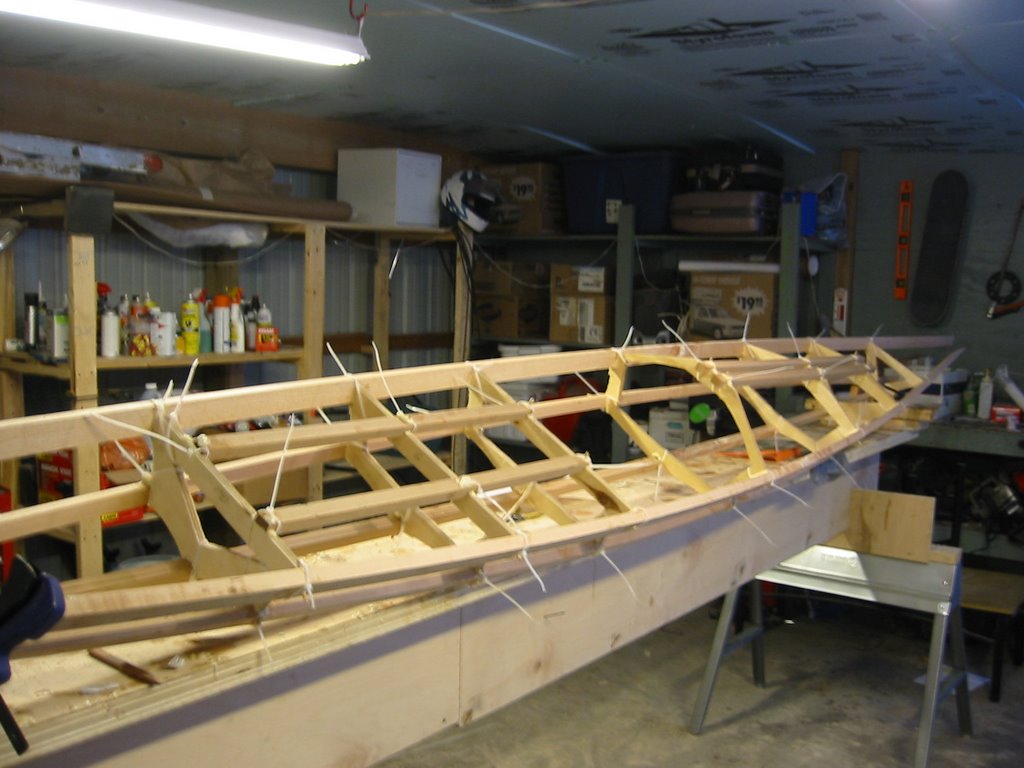
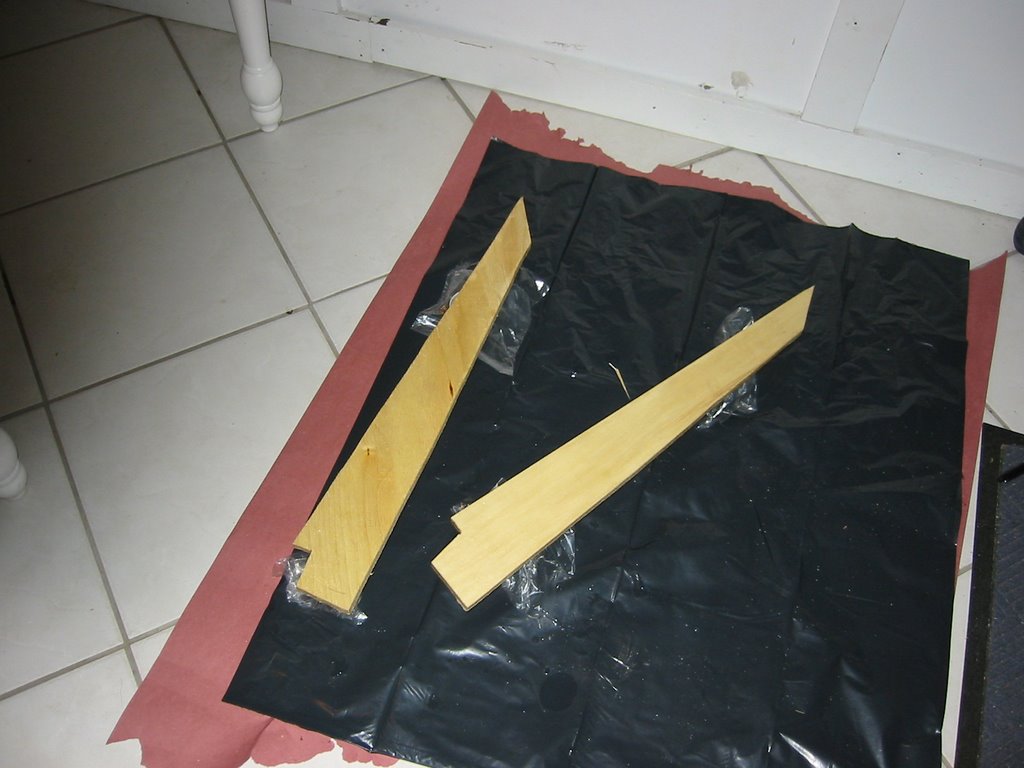
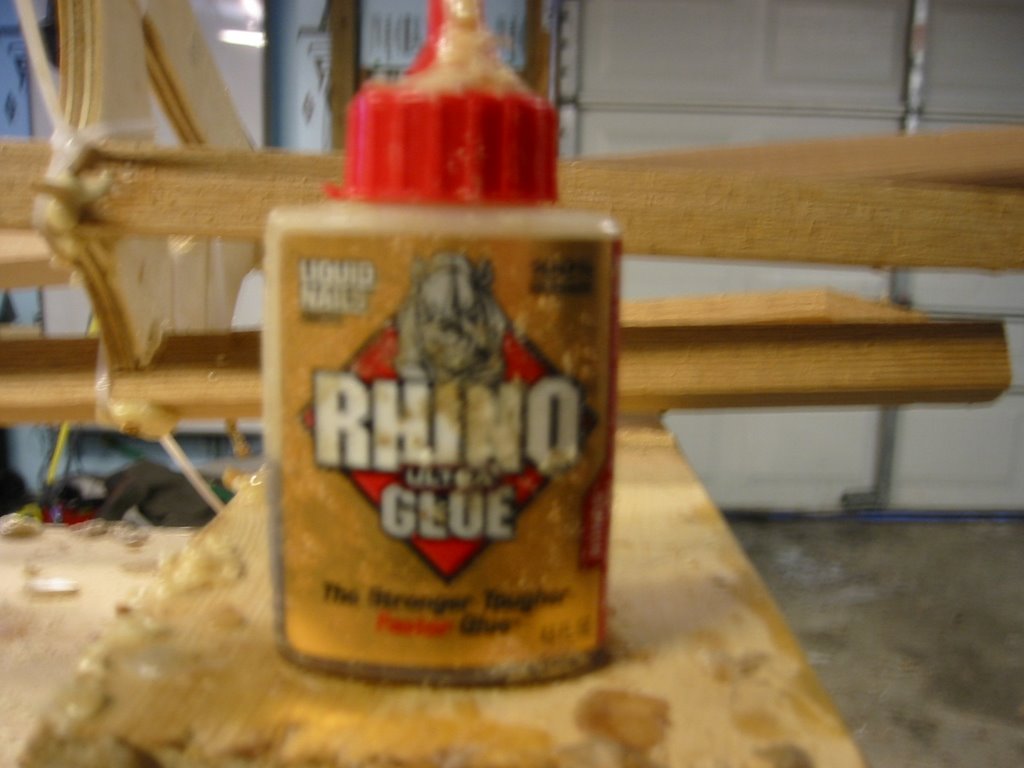
I love this kayak, the build is fairly easy and Rewarding! I have decided on 3/16" dowels secured with Rhino Glue. This process took a few hours, but I also managed to cut out the bow and stern piece. The next steps involve epoxying the bow/stern, and then cutting off the excess dowels, and a quick light sand. Following that I will build a seat, coaming and then look at skinning it.
I did add two pieces of wood to the section behind the coaming. I did this for two reasons. To add support to reenter the boat in open water, and to give me a place to secure any type of cargo. I figure it may have added a half an inch.
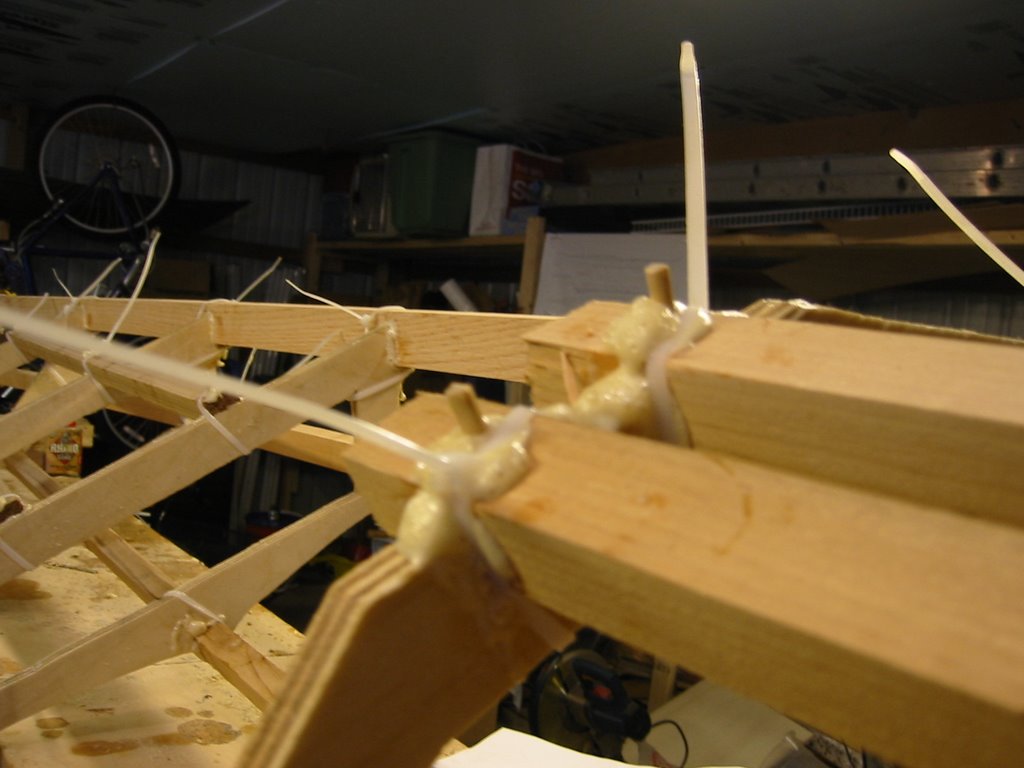
Check out the pics.
posted by Jaytoro7 at 6:26 PM
![]()

0 Comments:
Post a Comment
<< Home