A northern Michigan kayak & kayak builder story.

Sunday, April 30, 2006

Keep Truckin!

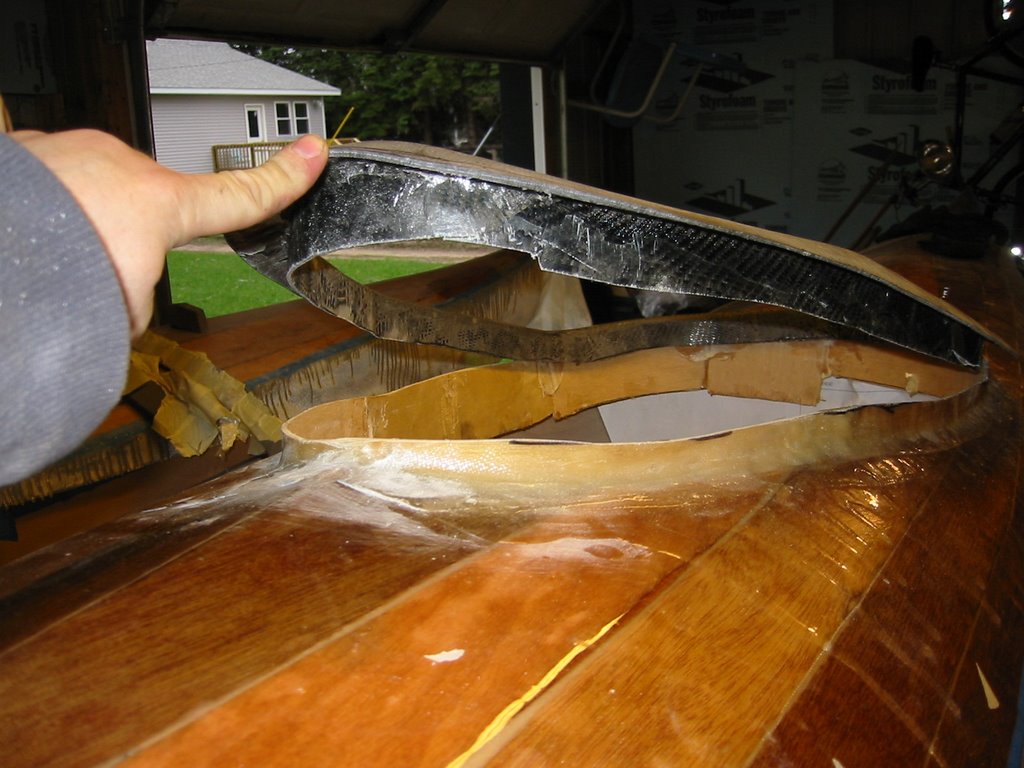
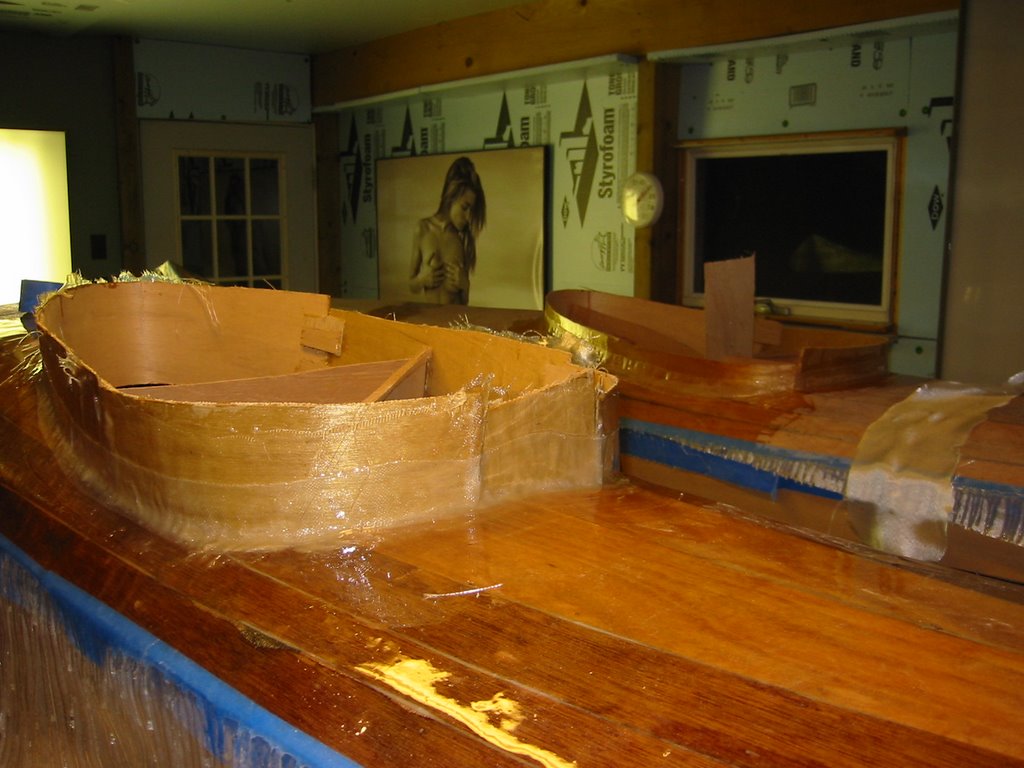
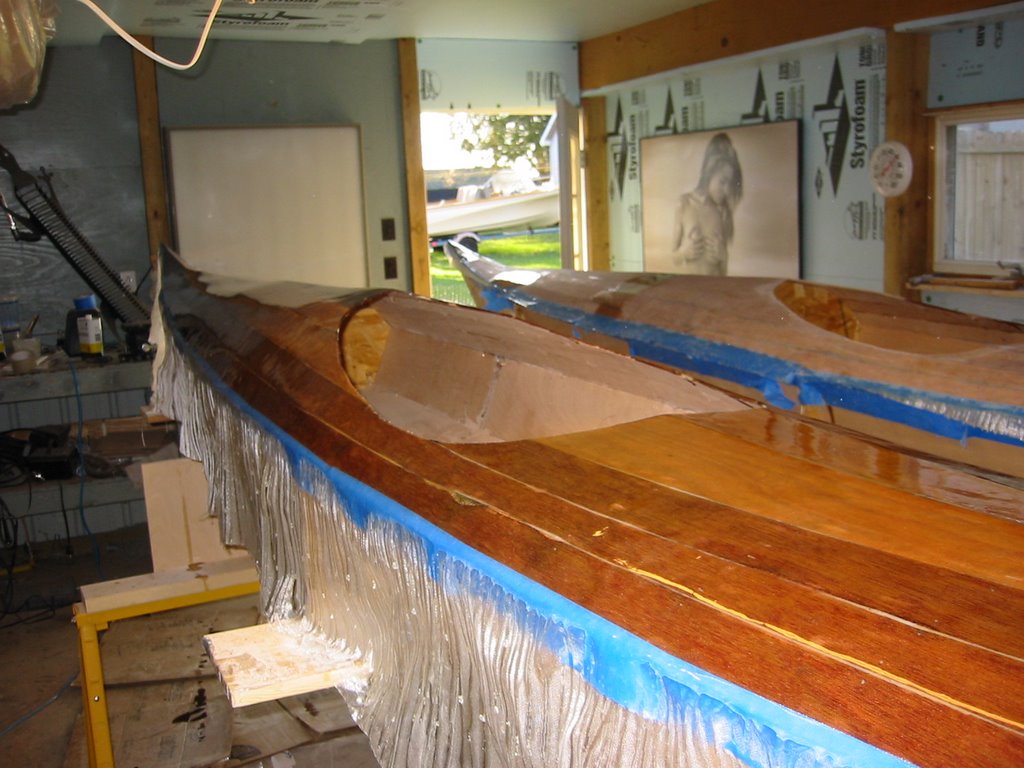
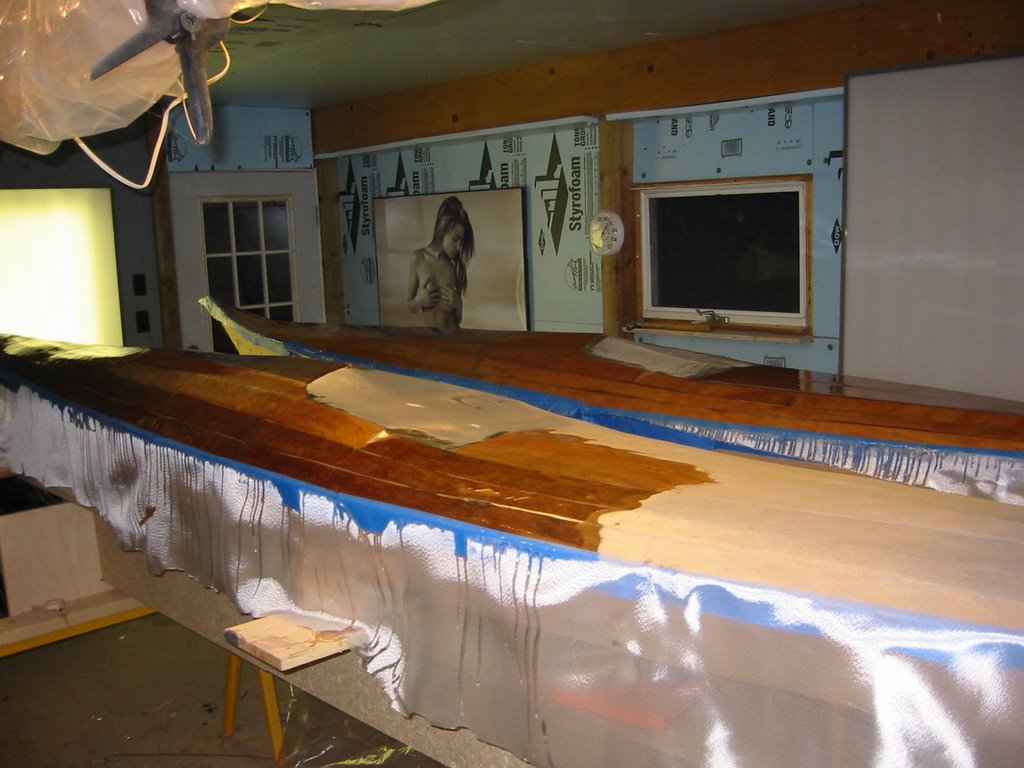
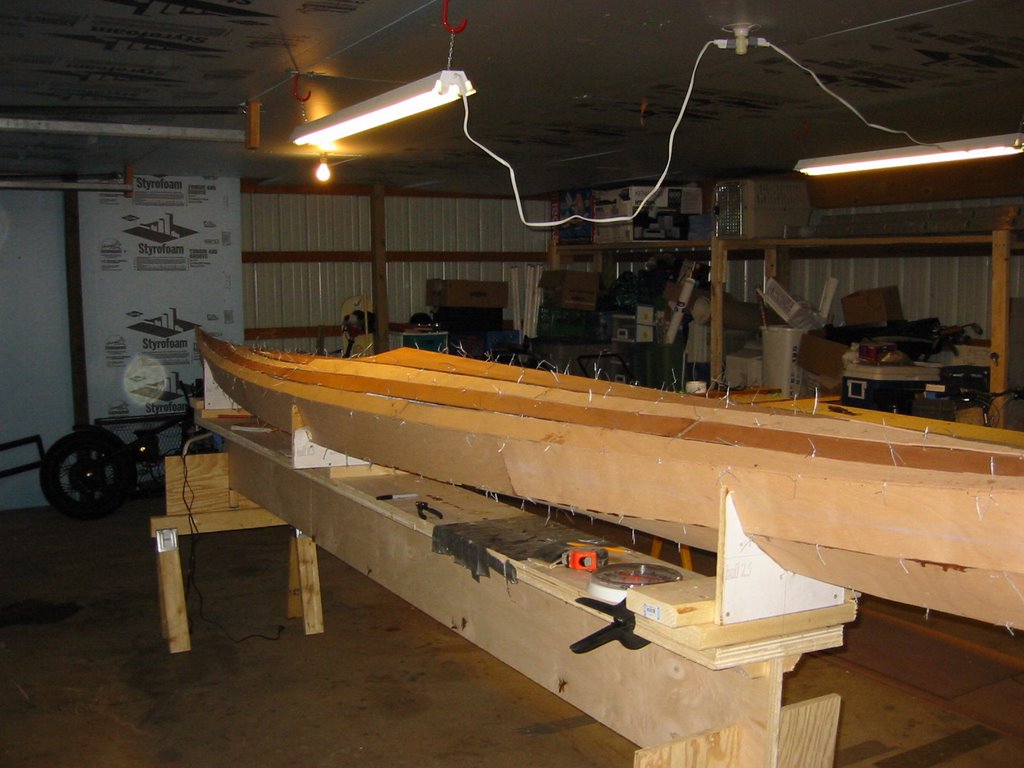
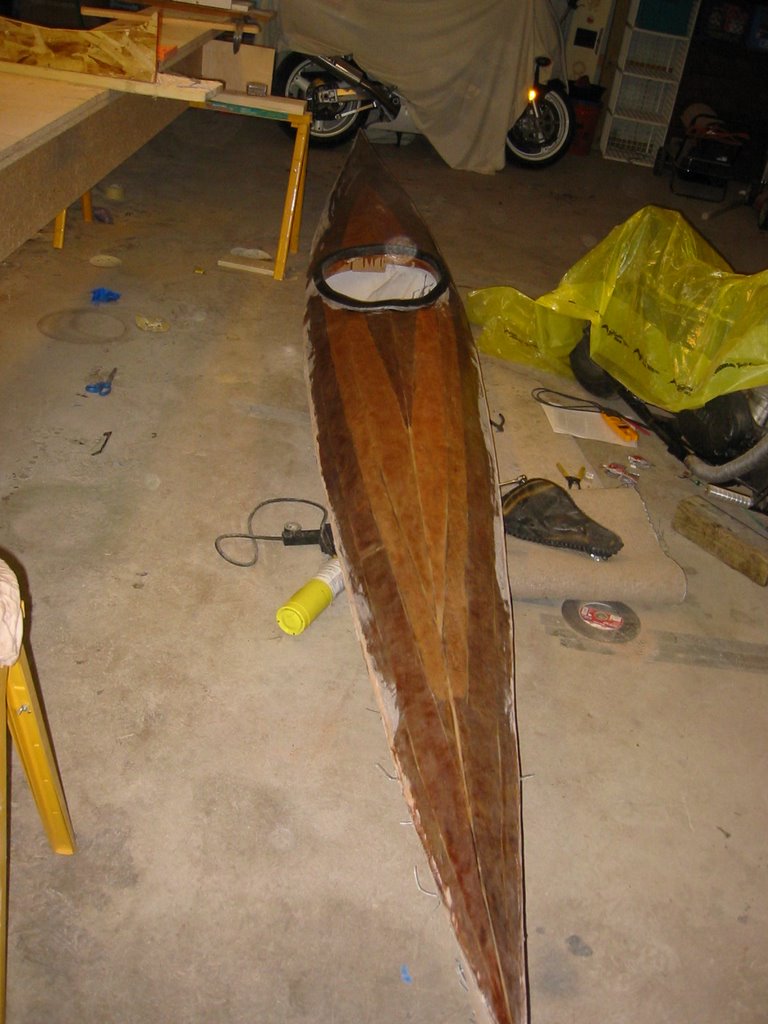
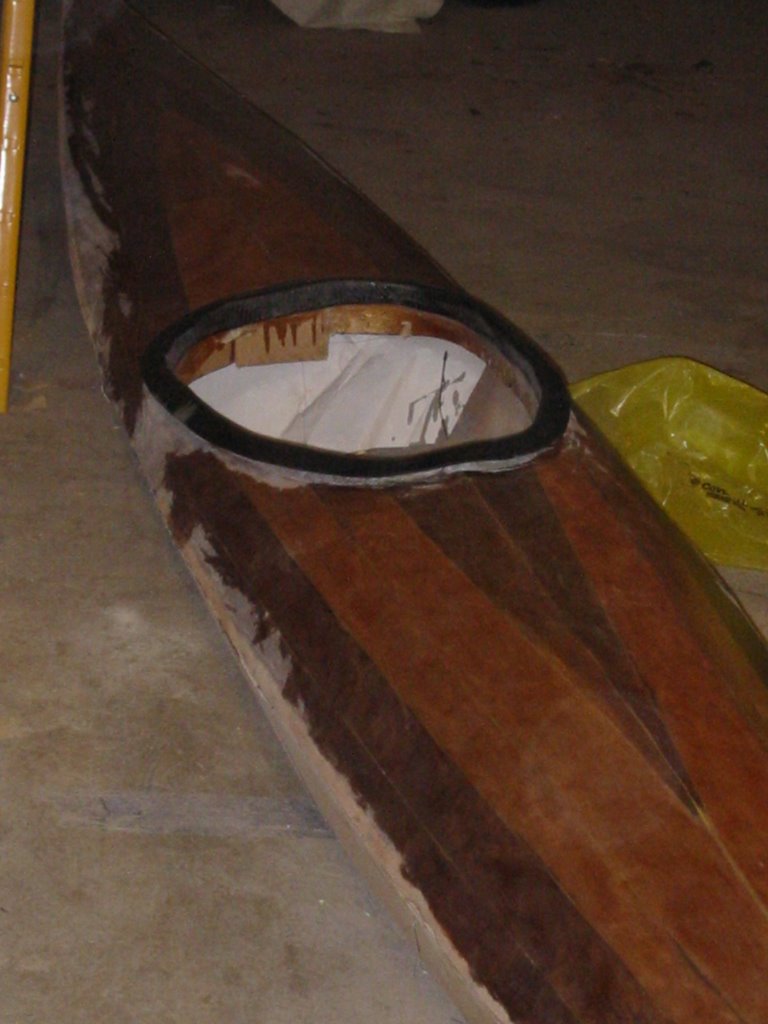
It has been a busy few days. I have a lot of other priorities and the kayak, one of my personal favorites, tends to fall to the back of the line. But I got a few strong hours in over the past few days. I have permanetly glued the coaming on, resanded the boat and best of all flipped and I am now moving forward on the hull.


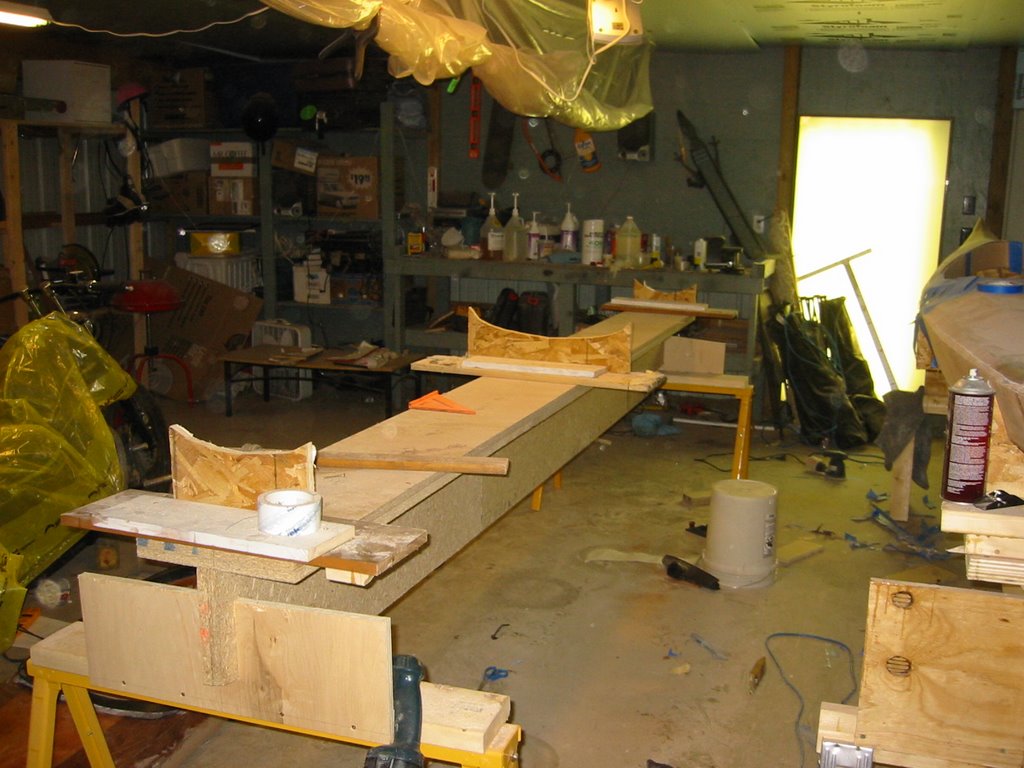
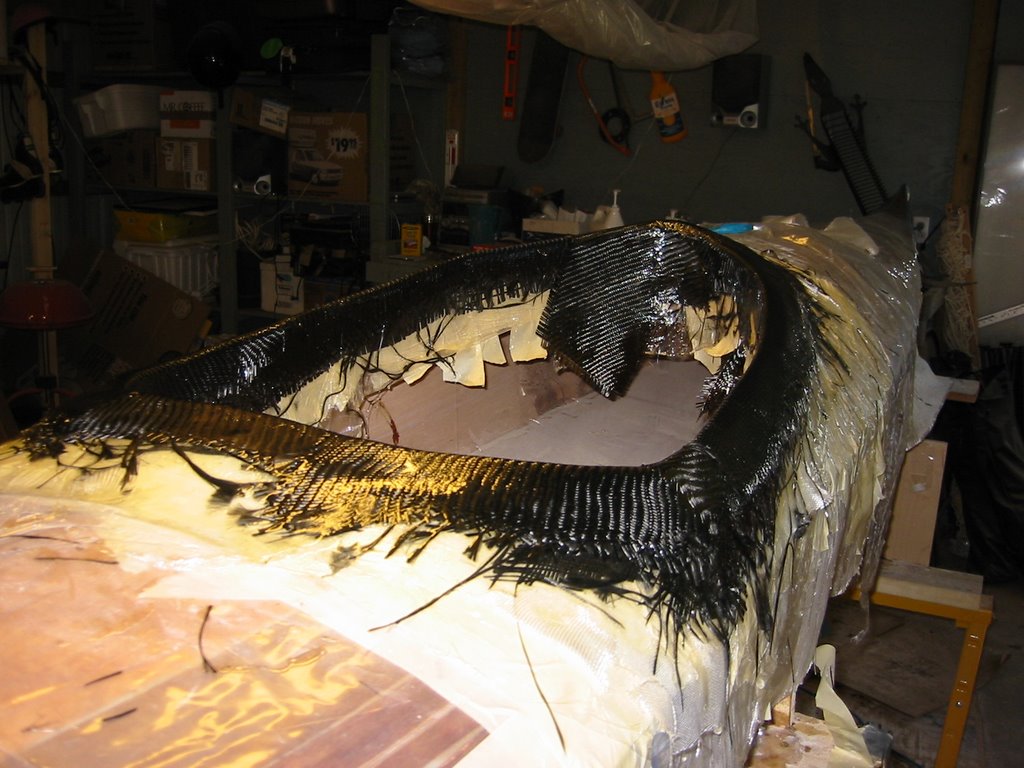
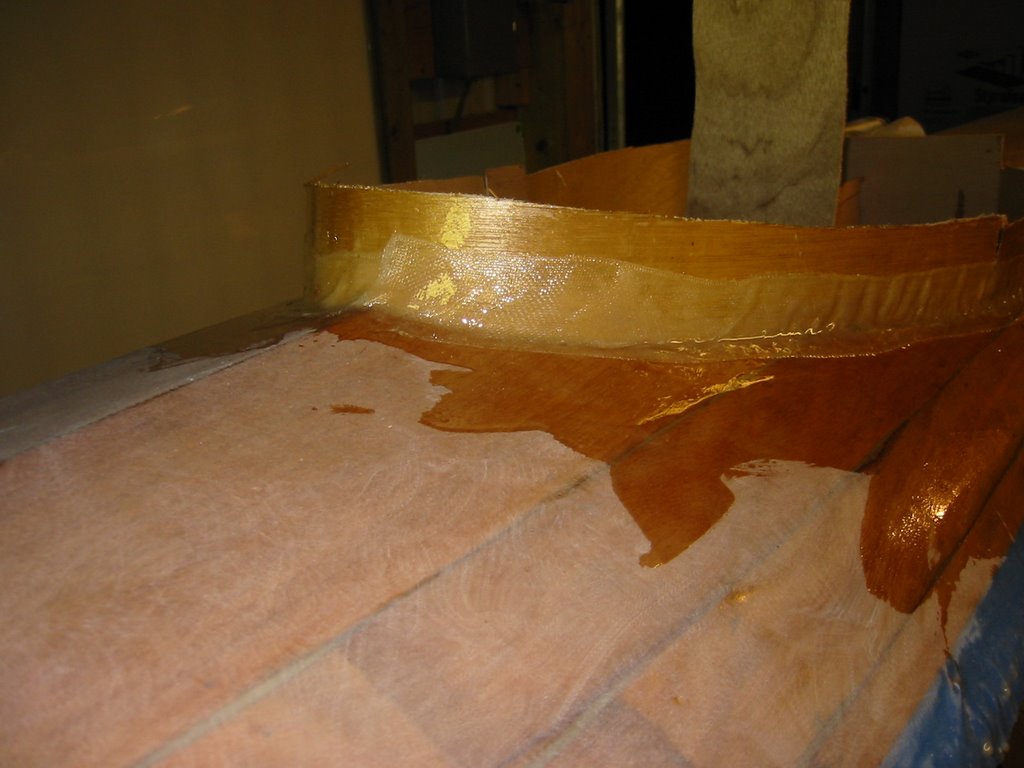
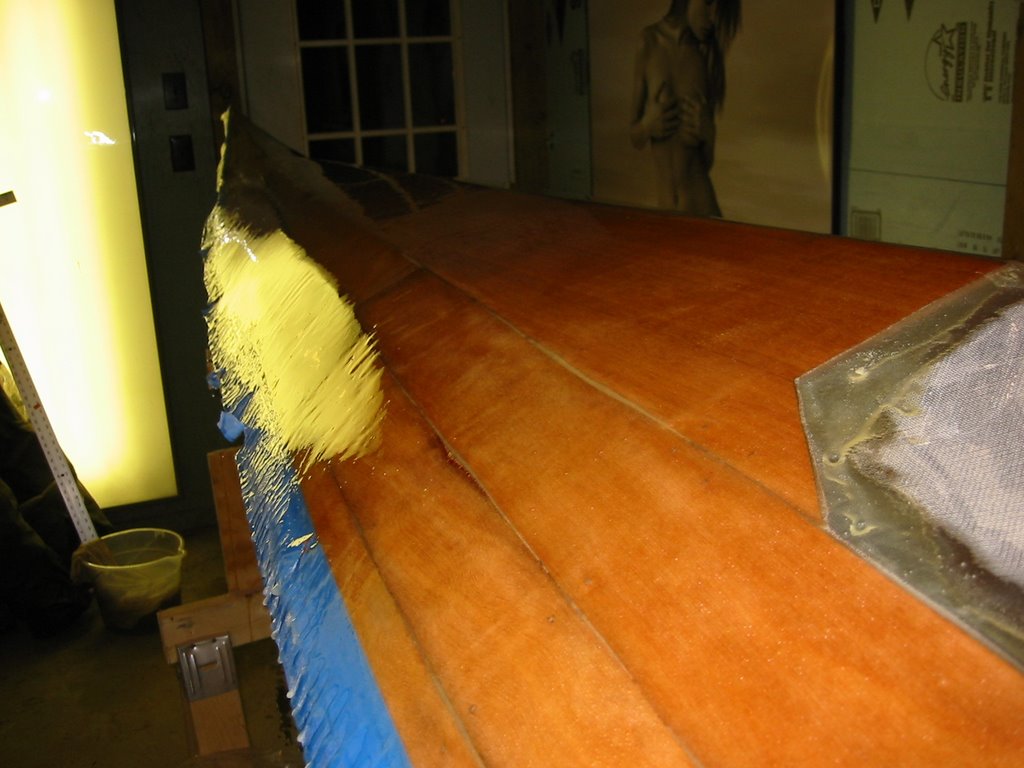
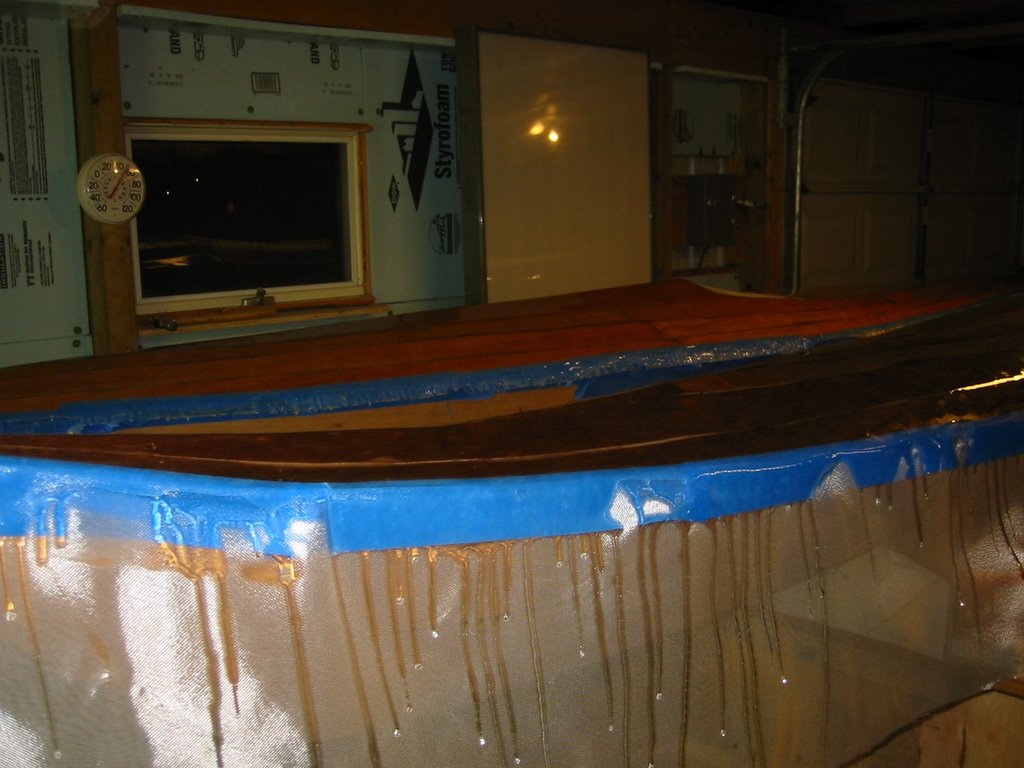
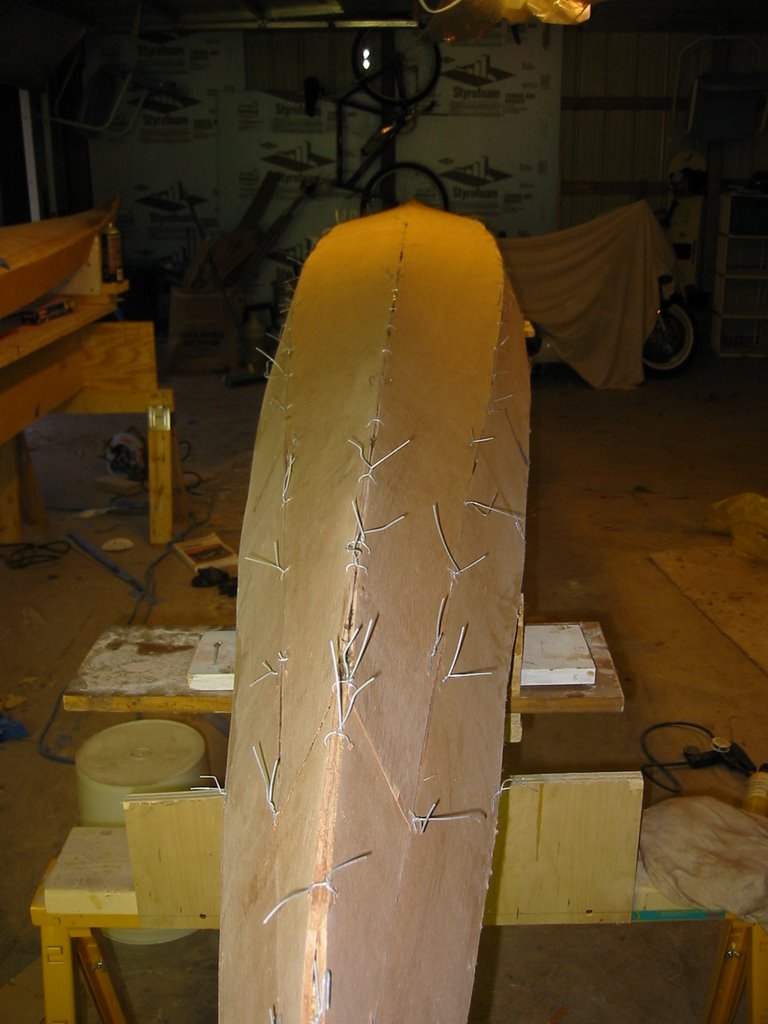
I have to say that this is an exciting part of the build, as I have not seen the boats in any other positions than the one I began the build in. I took the time tonight to fillet the hull plates on the outside, the first round anyway. Tomorrow, if the epoxy hardens, I ill remove the stitches and begin sanding. With the cold night expected tonight however, I suspect thy will need anothe day.

But I have planned or that, as I have the coaming ready to be built on the other yak tomorrow. So either which way I am putting in a few solid hours tomorrow.


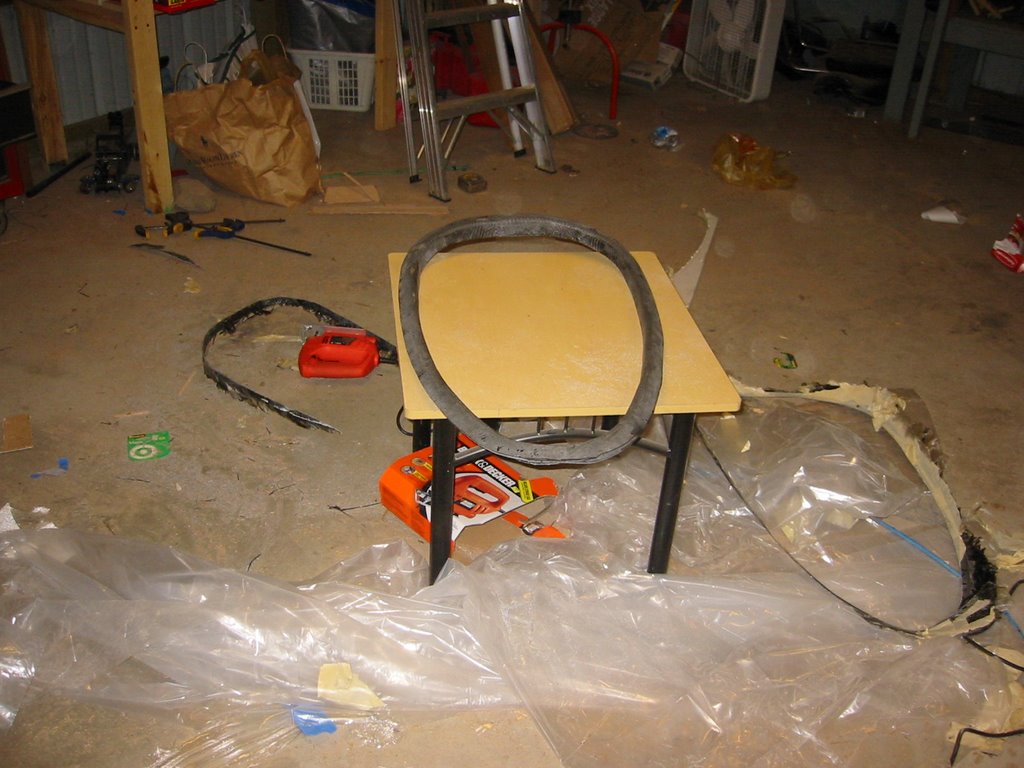
Last, I have to say moving the Kayak to the floor for the station change was very cool. I haven't even realized how nice the okum and sappelle contrast each other untli tonight. Also seeing the boat in a more natural setting was motivating. Sometimes you loose steam in a project this size, but all it takes is a change of scenary to keep truckin!

Monday, April 24, 2006

The Verdict!

This turned out great. It is a great looking coaming, although it was a lot of work.

A couple of thoughts, I used less carobon than suggested as I ran out. So i believe I had three coats of fiber and four of glass. It uses a ton of epoxy, a ton of patience and a ton of prep time.

Be sure that the mold is set up correctly, I had to pry this out of the mold for about an hour. It may have been easier had I used more masking tape, as I think some of the epoxy found wood to set up to.

Also be sure to use a tool to draw the lines for the cutting, it is real easy to build.

All in all I am very happy with the outcome, but it was expensive. I used around a square yard of carbon, a ton epoxy, and a half of rolll of masking tape. So I would estimate the cost to build around $30 each. maybe more.


Friday, April 21, 2006

What a Mess!!


What a Mess! That bears repeating. This coaming design is so expensive and messy. A square yard of carbon fiber square yard off glass and a ton of epoxy. This thing had better be nice. I will tell you that I am not optimistic of this progress. I hope that OOK has not lead me astray.

Also, the carbon fiber is nearly impossible to find right now, so I am stuck on wht to do with the oter kayak. Maybe I will just use glass and S glass.

Oh, I forgot. I ran out of West System epoxy right before the end and had to mix some MAS to finish. I didn't mix resin and hardner, just used two types of mix. I am a little worried about mixing the two, hopefully they will still harden together. We will see. Working through the troubles.

Last, I hve to give a shout to US Composites, they have great glass, epoxy and carbon price. Google them, they are great. Stay Tuned.

Thursday, April 20, 2006

Coaming Time!!


Check it out more progress. This is exciting, I love building boats. Although you do have to persavere the hardships. For example, in order to bend the corners for this I had to find some 1/8" Luan, and this is not sold at the Depot or Menards. But after a wasted day of calling around I finally located some.

This may seem odd to some builders. The design is straight from the OOK website, it is a carbon composite coaming that is a bit tricky to build. According, to my buddy Matt another overkill in the construction of the kayak.

The installation is tricky, I probally snapped 6 peices trying to get th bends to be close. After they where stitched into place with a glue gun and spread with the middle pieces of wood, I applied a thick fillet of epoxy slurry. About thirty minutes later I applied the glass and wet it out with resin, that was a mess. I think in the morning I will apply another coat of resin and then begin the triming and composite coaming. Stay tuned.

Sunday, April 16, 2006

Moving On!!


Today I cut the cockpits out. That is a scary process. The first time taking a jigsaw to a project that has this kind of work devoted.

I also spent a ood amount the day sanding the epoxy smooth. it takes quite a long time, some ear plugs, and a ton of sandpaper to smooth it down to try to get a mirror like surface. Check out the pics!!

The Cirrus

For anyone considering building a stich and glue kayak I have some thoughts. First the Cirrus is a great boat. However, it is an advanced build, and very costly. Consider that you have 3-4 sheets of marine plywood, $150. 2-3 allons of epoxy/hardner at least $250. Fiberglass and carbon fiber, $220. And don't forget about sandpaper, paintbrushes, tape, station wood, and strongback setup. This willl easily add another $100 or more.

I do have to say you will be building a beautiful kayak, that most likely will last forever. It will become your pride and joy.

There are other plans out there, CLC makes some, Point Bennett has a great kayak, Guillimont has a few. I am familiar with CLC's designs, they use a compltetly different setup that uses less epoxy, fiberglass and much less time. Although, CLC has introduced a new kayak named the Sheerwater, which to me looks very similiar to the Cirrus, and has similiar construction methods. As they both utilize stations, a strongback and a lot of seperate pieces.

So, before you begin your project do some research. Choose a difficulty level and a cost that is suitable to your budget and time constraints. Email some poeple who are in the 'know' and try to learn as much as you can from them.

The Weather


I cannot believe this weather, it is so beautiful. And it has given me the chance to continue glassing the boats. It has been a lot of work, and waiting, but finally I get to move forward. These pictures are from the glassing of Jen's kayak.

The fiberglass process takes some practice, and I don't have much. You can see where the epoxy stops, this is where I ran out of epoxy. I simply did not have enough and at 8:00 pm it is a hard item to come by. This is alos a great picture of both boats. The one on the right is 100% okume, the near one has both okume and mahogony.

In the second picture you can see where the plates join and the blue tape, which allows some clean wood to help join the top to the bottom.

In the other picture you can really see the difference in colors of the wood.

I do have to say I am so excited to get these on the water. I have been thinking that I really only need 6 more weeks of work, maybe les if all goes well.

Thursday, April 13, 2006

The Projects!


Alright, by popular demand the kayak construction. It has been a long process, several months worth of work, and a long wait for warmer weather. This is the stitching of the the kayak plates. On this design there is 14 or more total plates, this makes a lot of wire ties to twist. Fortunately this was done several weeks ago when the weather would not permit epoxy.


It is also during this step that you must be very mindful of the gaps, and untrue plates. Taking time to plane these now will save a lot time, and epoxy work later. Although, I have to add it is nearly impossible to cut the plates perfect so remeber you are not building a piano and make it work!!
As far as the entire process goes, cutting the plate templates out of the plywood is one of the most time consuming and tedious process of the kayak. It takes a lot of attention, space and time. The wire ties is actually one of the easier tasks, although you will take some injuries, as these wires are sharp!